Complete Guide to Preparing Thick Greek Yogurt at Home By Using a Yogurt Strainer
Creating thick Greek yogurt at home provides both culinary satisfaction and health benefits. With just a few key ingredients and a reliable yogurt strainer, anyone can create a creamy texture and rich flavor. However, the journey to flawless homemade yogurt requires careful steps and techniques. Understanding these nuances can enhance the experience and results. What follows is an extensive guide that outlines everything needed to master this skill.
Why Choose Homemade Greek Yogurt?
Several household cooks realize that creating Greek yogurt at home delivers a fulfilling experience. This culinary pursuit not only permits complete control over the ingredients but also meets personal taste preferences. By making yogurt at home, individuals can bypass the additives and preservatives often found in store-bought options, promoting a healthier lifestyle. In addition, homemade Greek yogurt often boasts superior freshness and flavor, improving the overall satisfaction of various dishes.
The process can also be cost-effective, as bulk ingredients yield multiple servings, saving money in the long run. Additionally, preparing Greek yogurt fosters a sense of accomplishment, as home cooks can experiment with different techniques and fermentation periods to reach their desired thickness and tanginess. This hands-on approach stimulates culinary creativity, making it an enticing option for those looking to improve their cooking skills and savor delicious, nutritious yogurt tailored to their preferences.
Necessary Ingredients for Homemade Greek Yogurt
Making thick Greek yogurt at home needs a few key ingredients that contribute to its rich texture and tangy flavor. The primary ingredient is premium milk, with whole milk being favored for its creamy texture. Alternatively, low-fat milk can be utilized, but it may yield a runnier yogurt. The next essential component is a yogurt starter, which includes live active cultures. This starter can be commercially prepared plain yogurt or a dedicated yogurt culture packet intended for homemade yogurt.
In addition, some recipes ask for heavy cream to increase the creaminess and thickness of the final product. A yogurt strainer or cheesecloth is also necessary to separate the whey, concentrating the yogurt and achieving that signature Greek consistency. These ingredients combined form the foundation for delicious homemade Greek yogurt, permitting customization and experimentation with flavors and add-ins.
Greek Yogurt Preparation: Step-by-Step Instructions
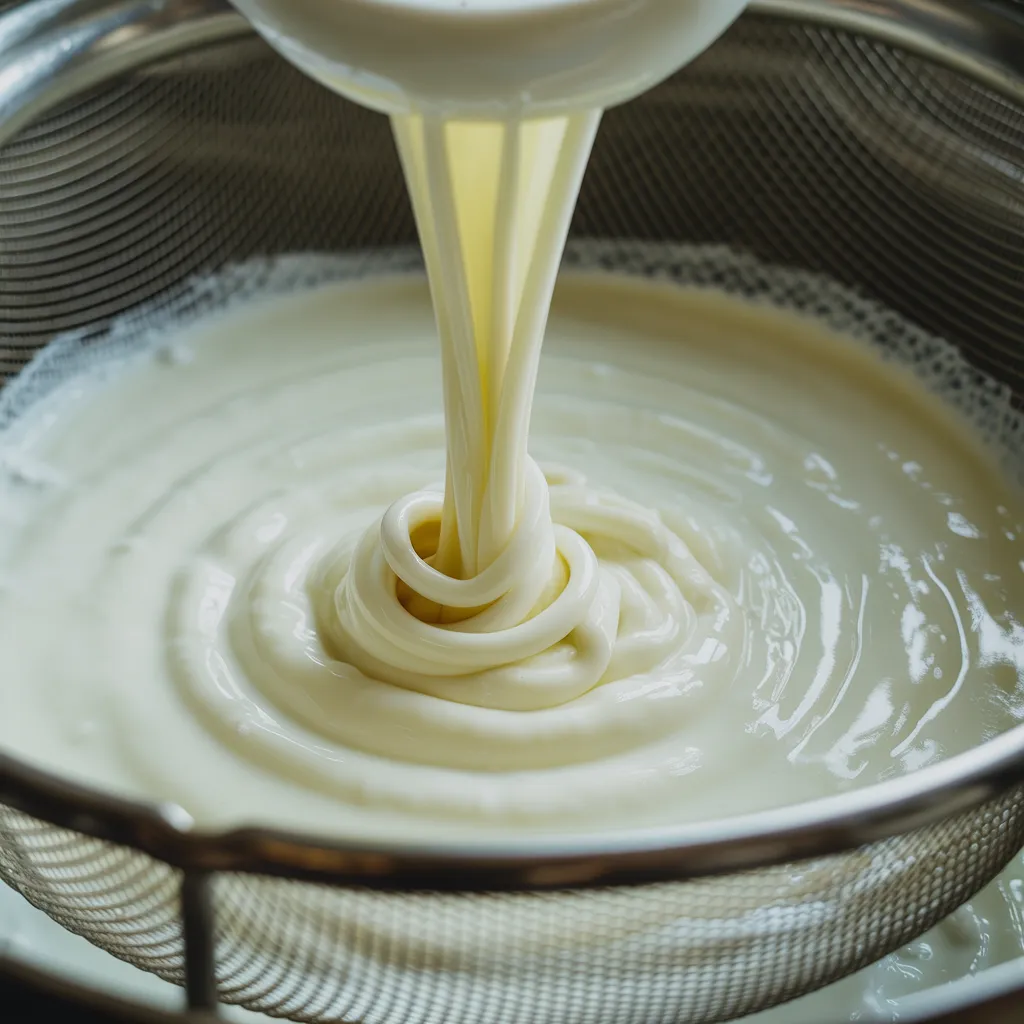
To make Greek yogurt review article at home, follow a series of basic steps that result in a thick and creamy final product. First, heat milk in a saucepan until it reaches roughly 180°F, then cool to approximately 110°F. This process guarantees that unwanted bacteria are eliminated and conditions the milk for fermentation. Subsequently, add a yogurt starter to the cooled milk, stirring gently to combine. Seal the mixture and keep it in a warm environment for roughly 6 to 12 hours, letting the yogurt to ferment. After fermentation, the yogurt should be dense and tangy. To obtain the desired Greek yogurt texture, strain the yogurt using a fine mesh strainer or cheesecloth over a bowl, allowing excess whey to drain for several hours. In conclusion, transfer the strained yogurt to a container, refrigerate, and enjoy the homemade Greek yogurt in assorted dishes or as a snack.
How to Choose the Top Yogurt Strainer for Dense Greek Yogurt?
How can you choose the most effective yogurt strainer for making thick Greek yogurt? First off, consider the material; options include fine mesh nylon, stainless steel, and cheesecloth. Each material offers different filtration capabilities, affecting the yogurt's final texture. Additionally, the size and shape of the strainer are vital. A larger strainer can hold more yogurt at once, while a bowl-shaped design provides better drainage.
Another important factor is ease of cleaning; materials that are dishwasher-safe or have removable mesh parts can streamline cleaning. Strainer durability is also a key consideration, as consistent use can lead to gradual breakdown. Additionally, user feedback delivers insights regarding longevity and performance. By evaluating these aspects, a person can make an informed choice for a strainer that creates thick, creamy Greek yogurt, elevating their at-home yogurt crafting.
Perfecting the Straining Technique for Ideal Thickness
Attaining the perfect thickness in Greek yogurt depends largely on mastering the straining technique. This process starts by choosing an appropriate yogurt strainer that enables optimal drainage. Once the yogurt is prepared, it must be poured into the strainer, guaranteeing an even distribution. It is vital to cover the yogurt with a clean cloth to avoid contamination and maintain temperature. The straining duration changes based on the desired thickness; typically, two to four hours creates a creamy consistency, while longer straining can produce a denser texture. Watching the yogurt during this time helps attain the ideal thickness without over-straining, which may result in a crumbly product. After the straining process, gently transfer the yogurt to a storage container, taking care to preserve its smooth texture. Mastering these steps provides a consistently thick and rich Greek yogurt, ideal for various culinary uses.
How to Flavor and Serve Your Greek Yogurt?
Although plain Greek yogurt offers a rich and creamy base, adding flavors can boost its versatility and taste. Users can enrich their yogurt by incorporating diverse sweeteners, like honey, maple syrup, or agave nectar, to create a delightful balance of sweetness. Fresh or dried fruits, like berries, bananas, or peaches, can also be mixed in for added flavor and nutrition.
For those who prefer a savory touch, ingredients including minced garlic, chopped herbs, or a sprinkle of salt can transform Greek yogurt into a tasty dip. Additionally, spices like cinnamon or nutmeg can provide warmth and depth.
Serving suggestions include pairing flavored yogurt with granola for breakfast, applying it as a base for smoothies, or spooning it onto pancakes. With numerous combinations accessible, the possibilities for flavoring and serving Greek yogurt are essentially endless, making it a adaptable addition to any meal or snack.
Common Problems and Solutions for DIY Greek Yogurt
Flavoring homemade Greek yogurt can create delightful variations, but sometimes the yogurt-making process in itself can present challenges. A common concern is insufficient thickness, which may stem from using low-fat milk or not straining the yogurt long enough. To address this, one can select whole milk or increase the straining time. Another frequent problem is a grainy texture, often caused by overheating the milk. Ensuring that the milk is heated gently and cooled to the appropriate temperature before adding the starter culture can help achieve a smooth consistency. Additionally, if the yogurt won't set, it may be due to an inadequate amount of starter or incorrect incubation temperature. Using a reliable thermometer and verifying the starter is fresh can improve results. Finally, unwanted flavors or odors may indicate contamination; maintaining clean equipment is essential for preventing this problem.
Your Questions Answered
How Long Can Homemade Greek Yogurt Be Stored in the Fridge?
Properly stored homemade Greek yogurt usually remains good for about one to two weeks in the refrigerator when preserved properly in an airtight container. Freshness can be checked by examining its smell and appearance, ensuring quality is maintained during storage.
Can Non-Dairy Milk Be Used to Make Greek Yogurt?
Indeed, non-dairy milk can be used to produce Greek yogurt, however the results may fluctuate. It's crucial to pick a non-dairy option that has added protein or thickeners for the finest texture and consistency.
Can You Safely Reuse Yogurt Starter Multiple Times?
Using yogurt starter several times is generally safe practice. However, the potency may decrease with each use, which can affect the yogurt's consistency and flavor. Fresh starter is recommended for ideal results.
What Is the Best Temperature for Incubating Yogurt?
The optimal temperature for culturing yogurt is within the range of 110°F to 115°F (43°C to 46°C). This range promotes perfect bacterial activity, guaranteeing a creamy and tangy yogurt while preventing unwanted bacteria growth. Consistency is key for success.
Can Homemade Greek Yogurt Be Frozen for Later Use?
Absolutely, homemade Greek yogurt can be frozen for later use. Nevertheless, its texture may alter, becoming slightly grainy upon thawing. It is suggested to consume it within two months for optimal flavor and quality.